
How to make a 3D hologram


At S1T2 we’re always sharing new technologies and designs with each other to help and inspire our work. Sometimes, this leads to personal projects and R&D at work. Even though my title is Lead Animator, I always have the chance to contribute ideas and designs to keep my creative juices flowing.
As the title says, this post will be about my research into holograms, how I learnt to make a 3D hologram, and how personal R&D projects can lead to something bigger.

Step 1: Gathering the ingredients
First of all, while there are multiple ways to make a 3D hologram, the technology is still not really there yet (even though holovect seems to be a good step). The whole reason for using holograms is to replicate real life – imagine having a real plane in the palm of your hand, or talking to your parents across the world in life size. But real life holograms today are too low in quality to achieve this purpose.
Most people tend to use multiple techniques to trick audience’s eyes into creating the illusion of a hologram. There are various ways to create this illusion, such as projection on water, on density of air or smoke, light field display and the one that I have been working on – the Pepper’s Ghost technique (see below).
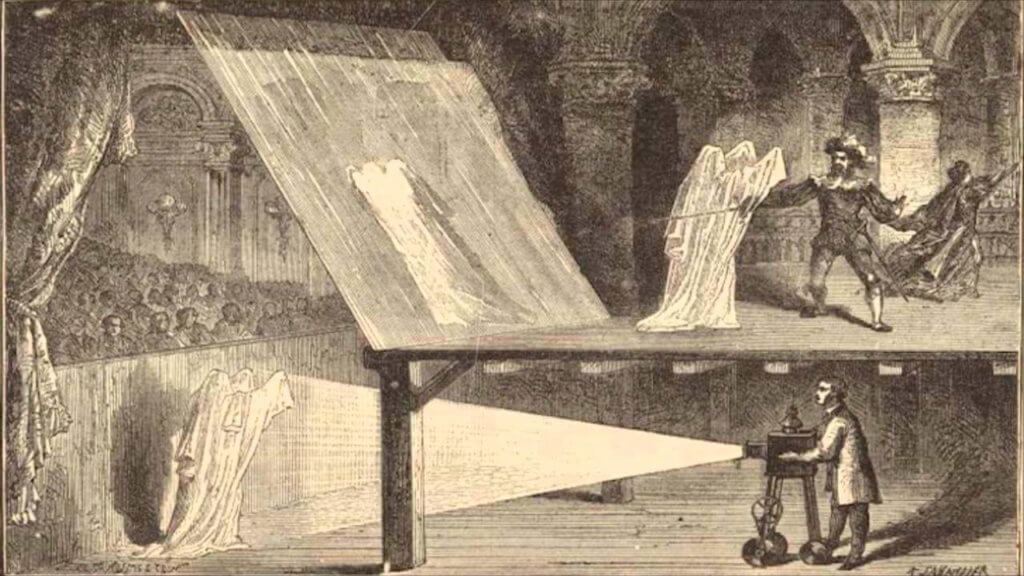
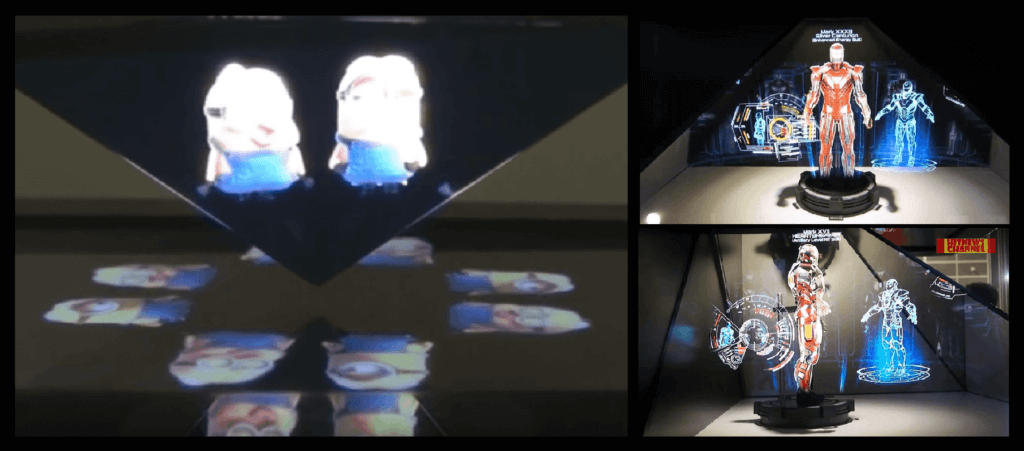
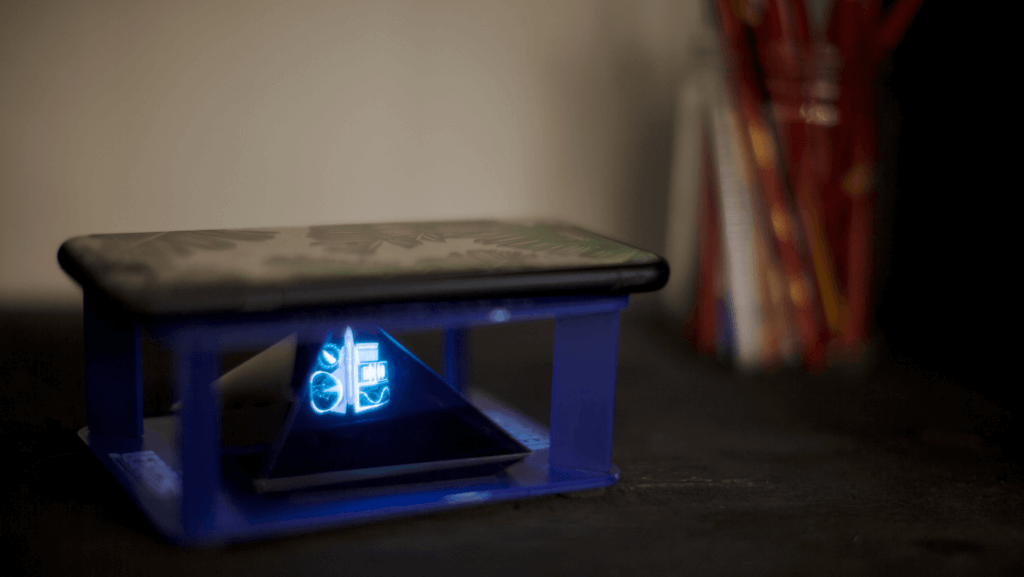
So what is the Pepper’s Ghost technique? It’s the way of creating a projection by reflecting 45 degree clear surfaces and making a ghost hologram without seeing the actual solid screen or source. This technique has been executed in stage performances and concerts since the late 1400s. But the 45 degree screen only works front on and doesn’t show the side or back angle of the actual piece. That’s why I started to look for hardware that would improve the Pepper’s Ghost technique. I found a DIY way to make a pyramid projection for mobile that would let me project the holographic content from all angles.
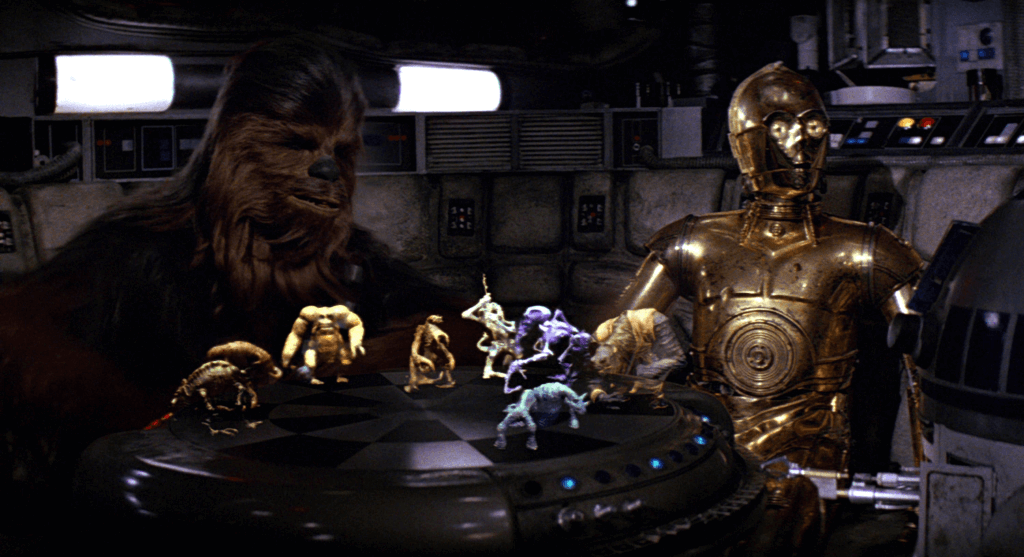
As a big nerd, I wanted to make a 3D hologram like the hoverboard from Back to the Future or the hologram table in Millenium Falcon from Star Wars. But to do that, I’d need more than a one-dimensional view. So I set aside my after work hours to test some hologram projections.
Step 2: Butchering + cooking
After you’ve done your research, it’s time to make the 3D hologram! I always believe in pulling research apart to find the best bits, reassembling them and testing them over and over until I get the result that I’m happy with. For me, it was about testing something that wasn’t going to cost me too much (this was personal R&D) but that would still be effective. Who would have thought that making a 3D hologram in my free time would lead to making an actual project with the Air Force.
The big three tips that I learnt are: Sides Accuracy, Safety Zone and Setting the Scene. (Dammmm 3’s, I’m a poet!)
Sides accuracy
First things first… Don’t be lazy, just make it in 3D software.
One thing I noticed was that most of the resources I found online about how to make a 3D hologram only use a single animation and duplicate it on every side, 4 times… Why?????!!! This creates the illusion of an object floating in the air, but it doesn’t create the illusion of a truly 3D object.
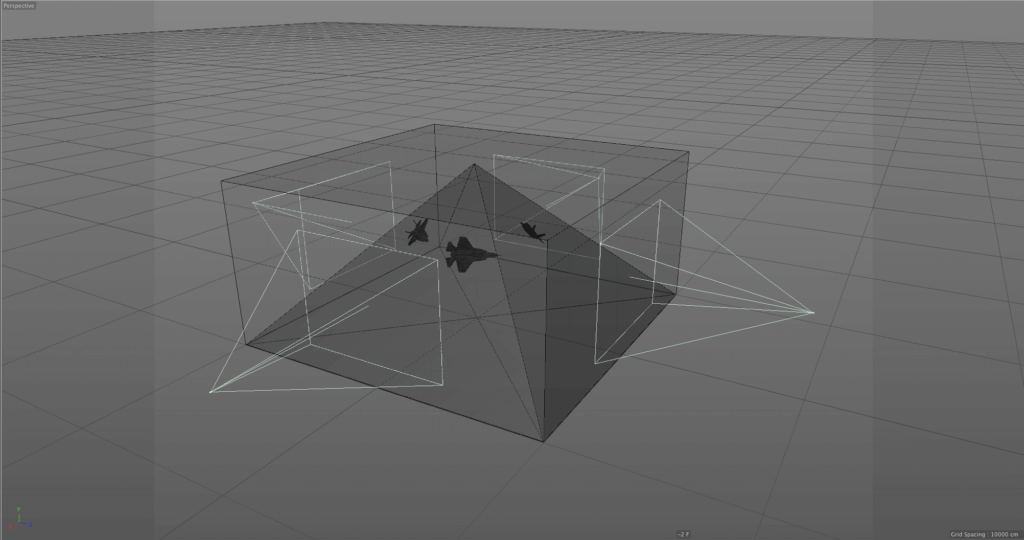
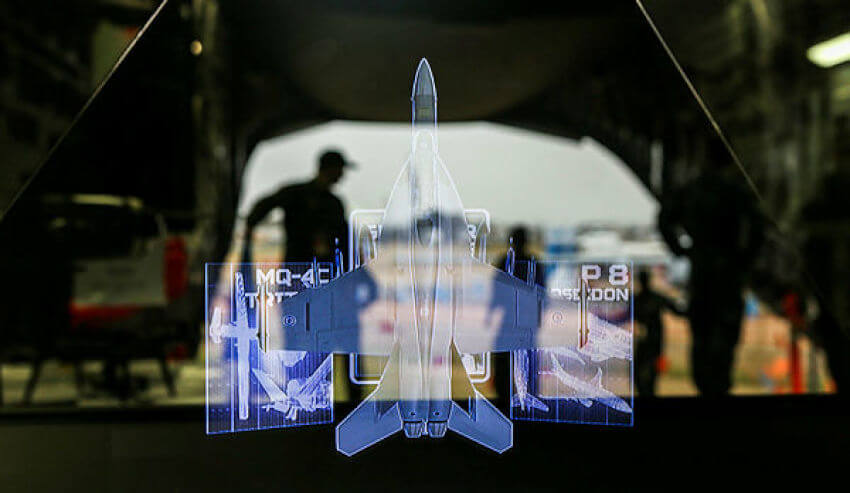
Instead, I found that the best way to make a 3D hologram of a 3D object is to create the object in 3D space, using 3D software. The way that I set it up was based on a pyramid projection. I set up four camera angles with the same distance and lens, so that each camera is relevant to the true side of the 3D object. This means the images will render out with depth and dimension, creating a more believable hologram in 3D space.
Safety zone
Remember in Motion Graphics 101, when we have title safe and graphic safe zones for video? We have the same thing when making a 3D hologram. Even though the pyramid projection can help you see in all angles, it still has limitations of the space that you can use. Without limiting the frames, the graphics will bleed into the other side of the pyramid or not project at all. After a lot of R&D, I settled on a C4D project file that limits the animation and render area to make sure that the graphics of each side do not interfere with the experience.
Setting the scene
Even when you’ve got 4 sides rendering safely in the pyramid, there’s another thing to consider: how to make your 3D hologram look as real as possible. Rendering an animation on a black background allowed me to implement a ghosting technique so that the animation appears to float when reflected onto the pyramid projector.
The most difficult part was to account for the multiple aspects of the site where the hologram will be viewed. Anything can interfere with the hologram, such as brightness of the room, material of the glass, how noisy the background space is and also the size of the projector.
With the Airforce project, we ended up custom making a big projector to make sure the hologram was visible in any location, since it would be shown in both bright areas and inside an aircraft for the airshow at Avalon. For the same project, we also had to make a small give away for after the show, so that people at home could be able to watch this mini hologram from their mobile phone. This meant I had to render the animation differently due to differences in phone brightness and screen rotation.

Step 3: Bon appetit!
I hope this blog will help anyone who’s been researching about a hologram ghosting technique and for any creative looking to try something new every now and then, cus you never know! One day you might use it for a bigger project, or even working with the Air Force.


